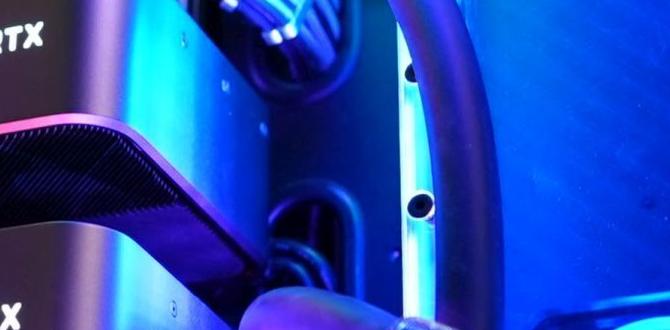
As a tech enthusiast, I understand the importance of keeping your gaming PC in optimal condition. One crucial component that requires regular maintenance is the fan. Over time, dust and debris can accumulate on the fan, affecting its performance and potentially leading to overheating issues. In this guide, I will walk you through the step-by-step process of safely removing a computer fan from your gaming PC for cleaning and inspection.
Gather Necessary Tools
Before starting the process, make sure you have the following tools ready:
- Screwdriver set
- Cotton swabs
- Canned air or a small brush
- Antistatic wrist strap (recommended)
Shutdown Computer
Before working on your PC, ensure you shut it down completely and unplug it from the power source to avoid any electrical hazards.
Open PC Case
Use the screwdriver to remove the screws securing the side panel of your PC case. Carefully slide off the panel to access the internal components.
Locate Fan
Identify the fan that requires cleaning. In most gaming PCs, the fan is located near the CPU or GPU for optimal cooling.
Disconnect Fan
Once you locate the fan, gently disconnect the power cable attached to the motherboard. Take note of how the cable is connected for reassembly later.
Remove Fan
Using the screwdriver, carefully unscrew the fan from its mounting points on the case. Be cautious not to damage any other components inside the PC.
Inspect and Clean
Inspect the fan blades for dust buildup and dirt. Use canned air or a small brush to gently remove the debris. You can also use a cotton swab dampened with isopropyl alcohol for thorough cleaning.
Reassemble PC
Once the fan is clean, carefully reattach it to the mounting points and reconnect the power cable to the motherboard. Secure the side panel of the PC case with screws and plug in the power source.
Conclusion
Regular maintenance of your gaming PC, including cleaning the fan, is essential to ensure optimal performance and prevent overheating issues. By following these steps, you can safely remove and clean the fan in your gaming PC without compromising other components.
FAQs:
1. How often should I clean my computer fan?
It is recommended to clean your computer fan every 3-6 months to prevent dust buildup and maintain proper airflow.
2. Can I use a vacuum cleaner to clean the computer fan?
A vacuum cleaner is not recommended as it can create static electricity and damage sensitive components. Stick to using canned air or a small brush for cleaning.
3. Do I need to oil the fan after cleaning?
Most modern computer fans are maintenance-free and do not require oiling. Simply cleaning the fan should be sufficient.
4. What should I do if my computer fan is making unusual noises after cleaning?
If your fan is making strange noises after cleaning, it may be a sign of a malfunction. In such cases, consider replacing the fan to avoid potential hardware issues.
5. Can I clean the fan without removing it from the PC?
While it is possible to clean the fan without removing it, removing the fan allows for a more thorough cleaning and inspection of the components. It is recommended to remove the fan for best results.
