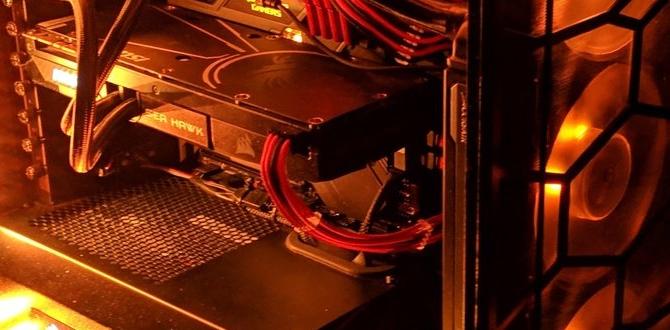
Embarking on the journey of building your own custom gaming PC can be an exciting and rewarding experience for any tech enthusiast. From selecting the right components to assembling and optimizing performance, the process involves several intricate steps that culminate in a powerful gaming rig tailored to your preferences. In this guide, I will walk you through each stage of the build, from researching components to testing and troubleshooting, to help you create a high-performance gaming setup that suits your needs.
Researching Components
Choosing CPU, GPU, RAM, Storage, and PSU
When building a custom gaming PC, selecting the right components is crucial to ensure optimal performance. The central processing unit (CPU), graphics processing unit (GPU), random access memory (RAM), storage options, and power supply unit (PSU) are the key components that will determine the speed and capabilities of your system.
- Research various CPU options based on performance benchmarks and compatibility with other components.
- Consider the GPU for high-quality graphics and smooth gameplay.
- Choose RAM capacity based on the requirements of your favorite games.
- Explore different storage options such as SSDs and HDDs for speed and capacity.
- Select a reliable PSU with sufficient wattage to power all components.
Building the PC
Installing the CPU, GPU, and RAM
Assembling your gaming PC involves carefully installing the CPU, GPU, and RAM modules onto the motherboard. Follow these steps to ensure a successful build:
- Install the CPU into the socket on the motherboard, ensuring proper alignment.
- Secure the GPU into the PCIe slot and connect any necessary power cables.
- Insert the RAM modules into the designated slots, ensuring they are seated correctly.
Connecting Components
Connecting Power Supply and Storage
Once the main components are installed, connect the power supply unit and storage devices to complete the build:
| Component | Connection |
|---|---|
| Power Supply Unit | Connect the main power cable to the motherboard and other power cables to components. |
| Storage Devices | Connect SSDs or HDDs to the motherboard using SATA cables or M.2 slots. |
Testing and Troubleshooting
Booting Up the System and Testing
After connecting all components, it’s time to boot up your custom gaming PC and test its performance. Follow these steps to ensure everything is functioning correctly:
- Power on the PC and enter the BIOS to verify hardware detection.
- Install the operating system and update drivers for optimal performance.
- Test the system by running benchmarking software and playing games to assess performance.
Optimizing Performance
Updating Drivers and Adjusting Settings
To squeeze the most out of your custom gaming PC, regularly update drivers and fine-tune system settings:
- Update GPU drivers to ensure compatibility with the latest games and optimize performance.
- Adjust in-game settings such as resolution, texture quality, and anti-aliasing for the best gaming experience.
- Monitor system temperatures and fan speeds to prevent overheating and maintain performance.
Conclusion
Building a custom gaming PC is a rewarding experience that allows you to create a high-performance system tailored to your gaming preferences. By carefully selecting components, assembling the PC with precision, and optimizing performance through driver updates and settings adjustments, you can enjoy a seamless gaming experience on your custom rig.
Frequently Asked Questions
1. Is it difficult to build a custom gaming PC?
Building a custom gaming PC can be challenging for beginners, but with research and careful attention to detail, it is a feasible project for enthusiasts.
2. How much does it cost to build a custom gaming PC?
The cost of building a custom gaming PC varies depending on the components chosen, but it can range from a few hundred to several thousand dollars.
3. Do I need to have technical knowledge to build a custom gaming PC?
While technical knowledge can be beneficial, there are many resources available online, such as guides and tutorials, to help beginners build their own gaming PC.
4. How long does it take to build a custom gaming PC?
The time it takes to build a custom gaming PC varies depending on experience level, but it can take a few hours to a day to complete the build.
5. Can I upgrade components in my custom gaming PC in the future?
Yes, one of the advantages of building a custom gaming PC is the ability to easily upgrade components such as the GPU, CPU, and RAM in the future to enhance performance.
